NEWS STORY
Is Mimaki The Best Colour 3D Printer On The Market?
A few years ago now Stratasys released the J750, which was the first of the big players to produce a true full colour 3d printer that could produce functional prototypes in plastic. This game changing technology was the first to challenge the mantel of Z Corp (now 3DSystems), which for a long time had dominated the full colour prototyping market. Relatively cheap and fast to build, the Z Corp brand had quickly built an empire as the ‘go to’ company in this field and became very strong in architecture and shoe markets to name a couple.
Here at Europac3D our path also took us down the ZCorp route, as the company behind the ASDA figurine ‘mini me’ adventure. At the peak we were running 20 Projet 660 machines to satisfy the demand for 7 inch figurines, that were being offered in 10 different 3d scanning locations nationwide across ASDA superstores. At the time, hours of painstaking research was done to figure out how to produce colour figurines that had accurate skin, hair tones etc and it is when you are dealing with people’s personal image that you realize how tricky this can be. First of all there was the colour capture from the Artec 3D scanning booths and then there was the translation of this colour into a 3d printing process that laid colour ink onto a gypsum based powder. The complexities of correcting for these two processes was not a simple task, however with the help of some very friendly people at Photoshop we eventually came up with a relatively fast process that was widely regarded as producing some of the highest quality figurines on the market at the time (see www.my3dimage.com for more information).
So these are the two leading players in the market. Or are they?
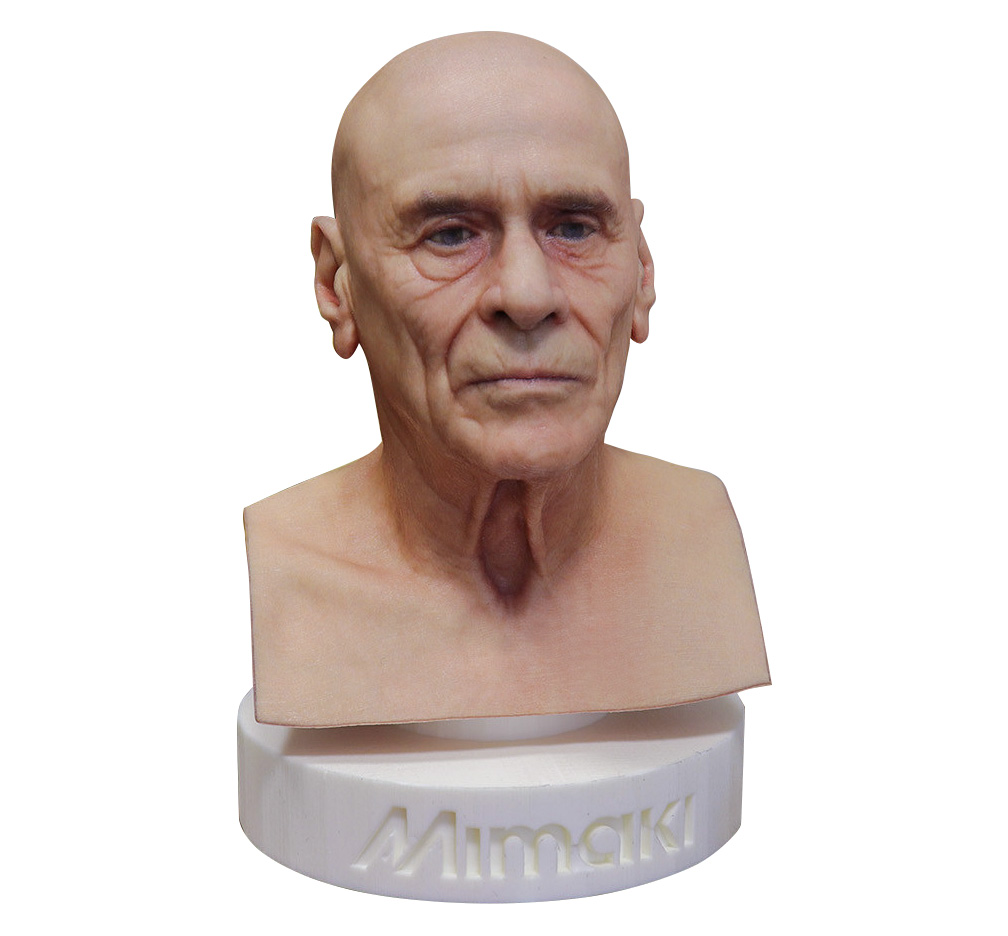
A year or so ago I was on on a Forum and I saw a post from the guys at Ten24, a company in Sheffield that specializes in full body and head photogrammetry scanning. The post showed a 3D print of a mans head in spectacular, vibrant colour the likes of which I had never seen before and the 3d printer was Mimaki. I had no idea who Mimaki was, but wanted to learn more. It turns out Mimaki come from the world of 2D printing and are pretty good at it too. They have translated their knowledge from the 2D world and built a printer that is one of the only technologies to have really got me excited in last 1o years.
I needed to learn more and have since been testing the technology out for myself.
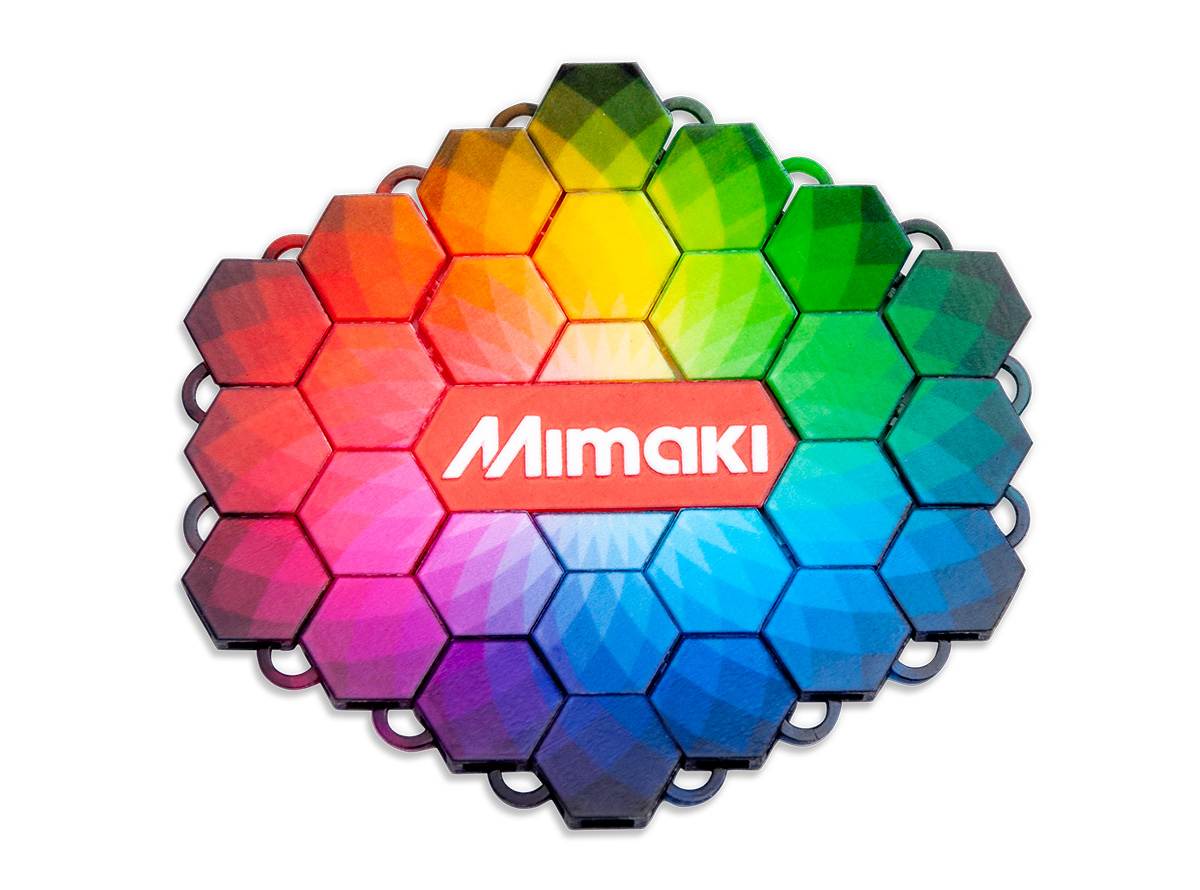
The Mimaki system utilizes its extensive 2D printing knowledge, transferring technology directly into 3d printing to produce the only system on the market place that can 3d print a true 10 million colours. In addition with a bed size of 500 x 500 x 300mm, this considerable build volume offers many possibilities; one that springs to mind is construction MEP models. What is also impressive is the giveaway drinks mat that Mimaki (seen here on the left hand side) use at shows and exhibitions, the first thing is apparent is the vibrancy of the colour compared to other systems. It is vivid and sharp and does not have that ‘sun faded’ appearance that you get used to with other technologies.
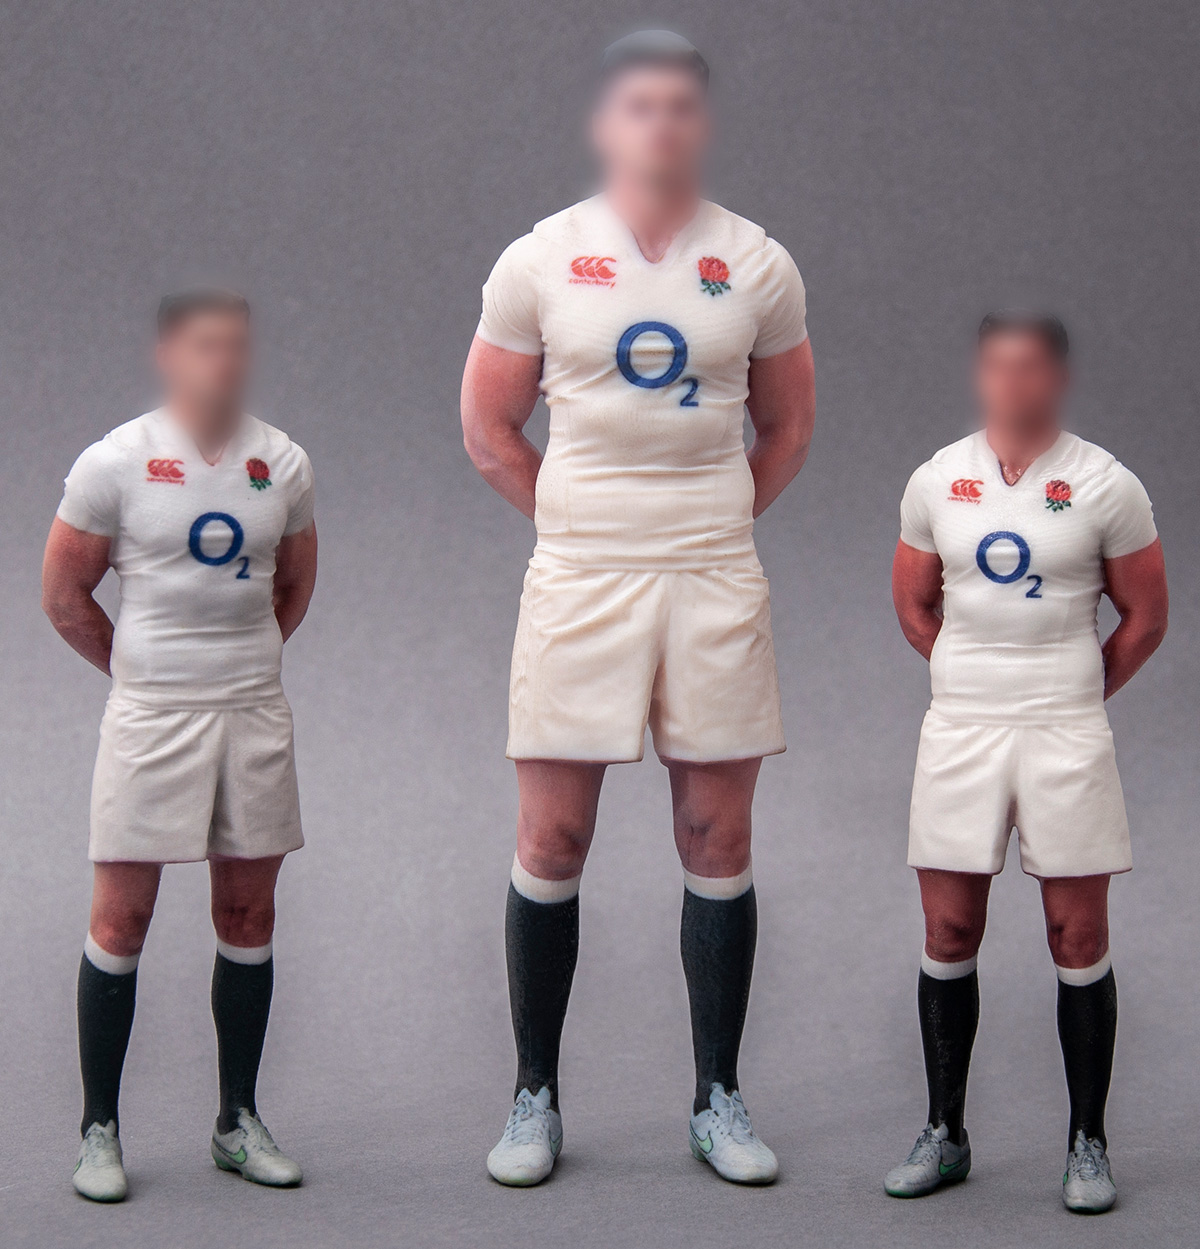
So on to the test that we have made. The figurines we printed are taken from an Artec body scanner without any corrections and have been printed at 7 inches on the Mimaki and 3D Systems Projet 660. The sample from the Stratasys J750 is 9 inches tall and to be fair is a little older so may have had time to degrade. If you take a look at the images of the sports person the first thing that struck us was the vibrancy of the solid colours, the dark in the socks is solid and consistent and not faded in any way . The J750 was the least consistent particularly in the area where there had been build supports connected to the model, here there was a slight step in the data and also a washing out of the colour.
The next big observation is the sharpness of the colour, the logos and emblems have a crisp edge to them on the Mimaki 3d print and if you look at the boots the Nike swoosh is clearly the most defined. Also there is a stitching pattern on the toe area of the boot that almost looks slightly quilted, it is visible on both the Mimaki and J750 print but not really on the Projet 660.
Finally I would say that the build lines are least visible on the Mimaki system, although this is difficult to visualise from the photos. A build layer of 20 microns means that I could not find an area of ‘stair stepping’, although I have since found out they were built horizontally, which in theory is not the optimum position, however it does minimize support structures. There is also no visible area where the supports have been broken off, I presume this is because the support structure is completely soluble. I could the tell how the J750 figurine had been built because down one side of the model there is a roughness, stepping and fading of the colour where something has been attached. The 660 build process is slightly different whereby the raw material powder itself supports the part while being built and therefore has advantage over the other two technologies. This advantage however does have a downside in post processing and something we have literally thousands of hours of practice here at Europac3D. The models from a Projet machine are initially very fragile and therefore when you ‘excavate’ them from the build chamber it take a lot of skill to gently pry them out of the loose powder. Then you have use an airline to clean off all the excess powder and then dip the parts in cyanoacrylate to make them go hard. At Europac3D we typically also wax the parts to give them a nicer look and feel. This is a very time consuming process and therefore when weighing up the pros and cons of different systems you would need to factor in a lot of labour time with this system. As someone who has used these machines for many years the idea of a quick water bath to dissolve supports and then that is it, finished, would put the Mimaki system high in the standings for me and would perhaps offset the higher cost of raw materials.
The conclusion here I would say that there is definitely a new major player in the market when it comes to high quality colour 3d printing. The Mimaki strengths are its colour quality/vibrancy and it its considerable build volume and therefore for anyone seriously looking for best in class colour, I think this system is probably the best we have seen. For us at Europac3D we have a few second hand Projet 660s to get rid of and then we will see what the future holds, it would certainly solve the many of the issues we have experienced up till now in he 3d figurine ‘mini me’ market.
Head printed on the Mimaki 3DUJ-553
10million colours of Mimaki
Left – 3DSystems Projet 660, Middle – Stratasys J750, Right- Mimaki 3DUJ-553
Left – 3DSystems Projet 660, Middle – Stratasys J750, Right- Mimaki 3DUJ-553
Left – Mimaki 3DUJ-553, Right- 3DSystems Projet 660


 Somos Perform Reflect